How to Move Buildings in Animal Crossing: New Horizons
Learn how to move buildings in Animal Crossing: New Horizons without paying for a guess. This guide separates your own home from villager homes and public buildings, explains where Tom Nook's relocation options appear, and shows how to check the fee and destination before you confirm.
Quick Answer: How Building Moves Work
This guide explains how to move buildings in Animal Crossing: New Horizons: unlock the permanent Resident Services building, ask Tom Nook about relocation, choose an eligible structure, and place its kit on a valid site. Review the fee and completion notice before confirming; the move is scheduled, not instant.
Use the home conversation for your own house and the infrastructure option for other structures. The airport, Resident Services, and its plaza stay fixed. Older fee guides may be out of date, so trust the current on-screen quote.
- Check that Resident Services is a building, not the starting tent.
- Mark the building footprint, door, and walking route.
- Choose a clear site and inspect the placement preview.
- Check the fee and completion notice before confirming.
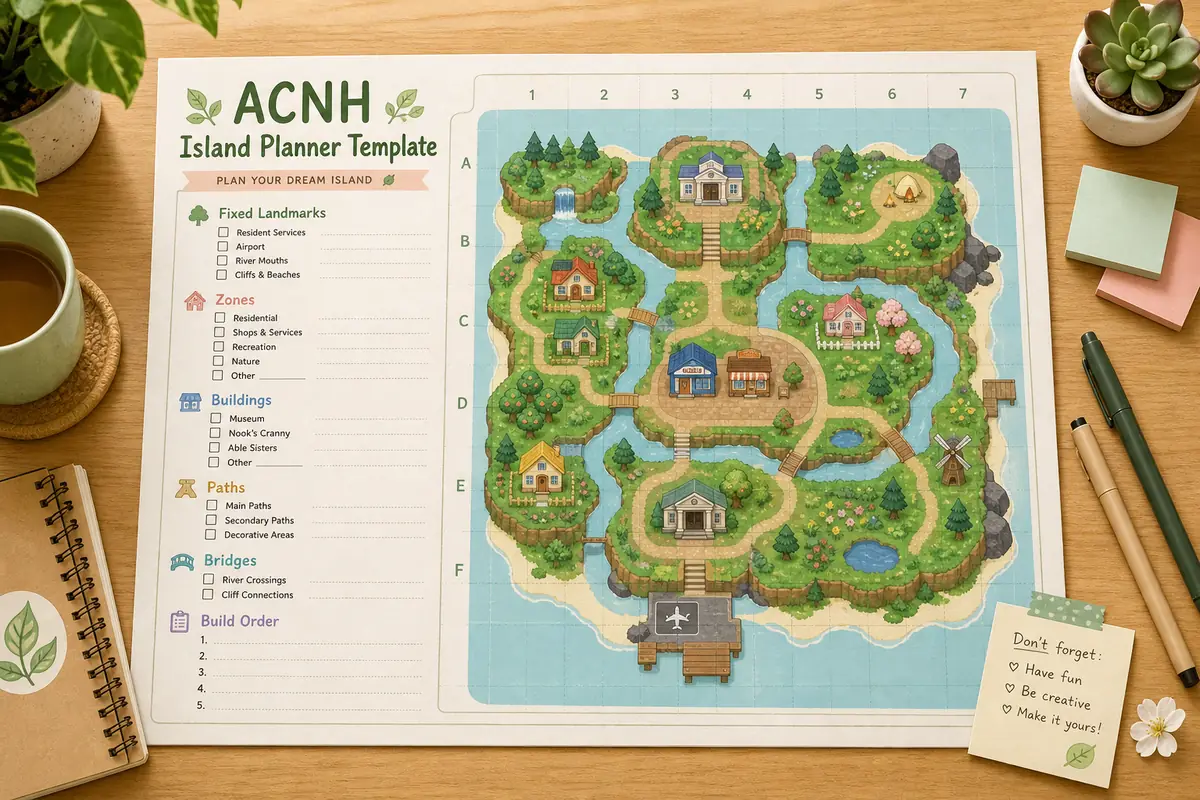
Check what you can move first
The relocation list includes eligible villager homes and public buildings. Your own home uses a separate conversation, so do not look for it under infrastructure.
Relocation opens after Resident Services upgrades from its starter tent. Progress the early requests for Nook's Cranny, a bridge, and the first villager homes, then ask Tom Nook about layout changes. Menu wording follows your Switch language.
How to move buildings in Animal Crossing: New Horizons
Choose the destination before speaking to Tom Nook: a temporary site can mean paying for another move. Use your map to test the plan, then treat the move kit preview as the final placement check.
- 1. Inspect the site. Check the footprint and route. Trees, weeds, and furniture may go to the recycling box; water, cliffs, rocks, beach edges, and buildings still limit placement.
- 2. Open relocation. At upgraded Resident Services, ask Tom Nook about infrastructure or layout changes, then choose relocation.
- 3. Select a structure. Choose an eligible villager home or public building. Use the separate home option for your own house.
- 4. Place the kit. The new footprint must be at least one tile from buildings, including its old spot. A small shift may require a temporary move and a second fee.
- 5. Check the fee and plot. Return the kit before confirming the plot if you change your mind; IGN says the unfinalized request can be refunded. A confirmed plot cannot be undone with that kit.
- 6. Wait for the move. The building stays usable in its original place until the 5 a.m. daily reset, then moves to the selected site.
Moving your own house is a different menu choice
Your house can move after it becomes a home. Ask Tom Nook about your home, choose relocation, then use the kit to select a clear destination and review the quote.
Older guides often list a separate historical house fee, so do not treat one as current. The game displays the amount for your save; if you have a kit but have not confirmed its plot, return it to Tom Nook before starting over. Plan a front approach and yard, especially when placing your house beside villager homes.
How much does it cost to move a building?
Older Animal Crossing: New Horizons guides may show the pre-2.0 price. IGN reports that the free 2.0 update reduced standard moves, including shops, the museum, and villager homes, from 50,000 to 10,000 Bells.
Use 10,000 Bells as a reference for those standard moves, not every relocation type. Your own house uses a separate option; check Tom Nook's quote and the destination preview before confirming.
| Move type | What to use as a guide | What to verify |
|---|---|---|
| Shop, museum, villager home | 10,000 Bells reported after Update 2.0. | Check the current game quote. |
| Your own house | Separate home-relocation option. | Use the on-screen quote; older fees may be stale. |
| Bridge or incline | Separate infrastructure project. | Check its demolition or rebuild terms. |
What cannot be moved with the building relocation option?
Relocation does not redesign the whole island. Resident Services, its plaza, and the airport are fixed; rivers, cliffs, beaches, rocks, and building footprints constrain valid sites.
Bridges and inclines use separate infrastructure choices. If one blocks a new route, review its demolition or rebuild process rather than using a building move kit.
- The airport, Resident Services, and its plaza are fixed anchors.
- The destination needs a clear footprint and space from existing buildings.
- Water, cliffs, rocks, beach edges, and narrow access routes may rule out a site.
- Bridges and inclines need their own removal or rebuild request.
- Only structures in the current relocation list are eligible.
Plan the destination before you pay
Decide what the move should fix: access, a view, yard space, or a place in a district. Mark the entrance and walking route as well as the footprint; a house can fit but still face a fence or block a daily path.
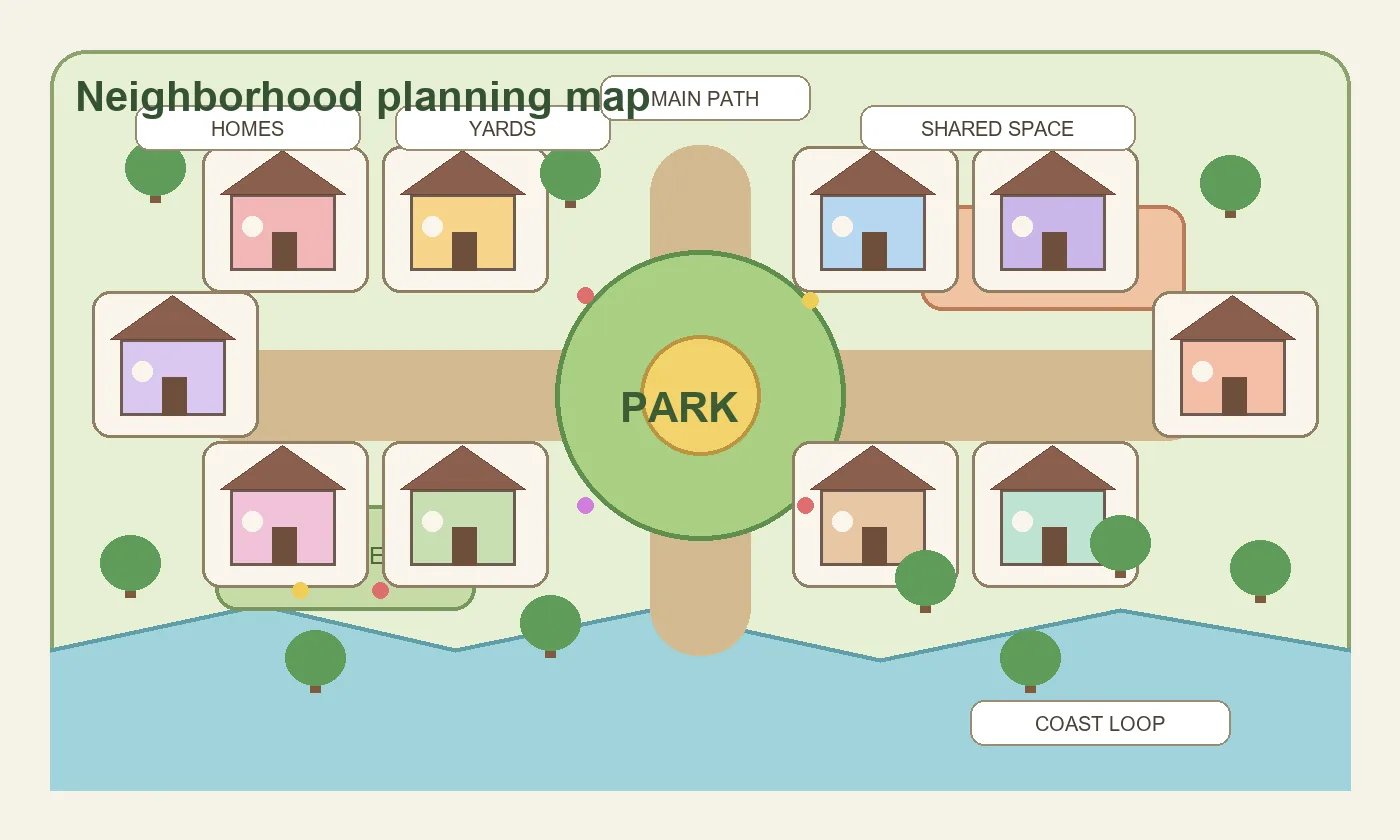
For a neighborhood, sketch homes and shared space together. Keep doors connected to a main route, and check rivers or cliffs before paying. A paper map or planner can reveal a cramped corner first.
- Mark the full footprint and front door.
- Walk the route from the airport or Resident Services.
- Leave room for yards, paths, and future items.
- Check nearby bridges, inclines, water, and cliffs.
- Choose a backup site in case the preview rejects the first.
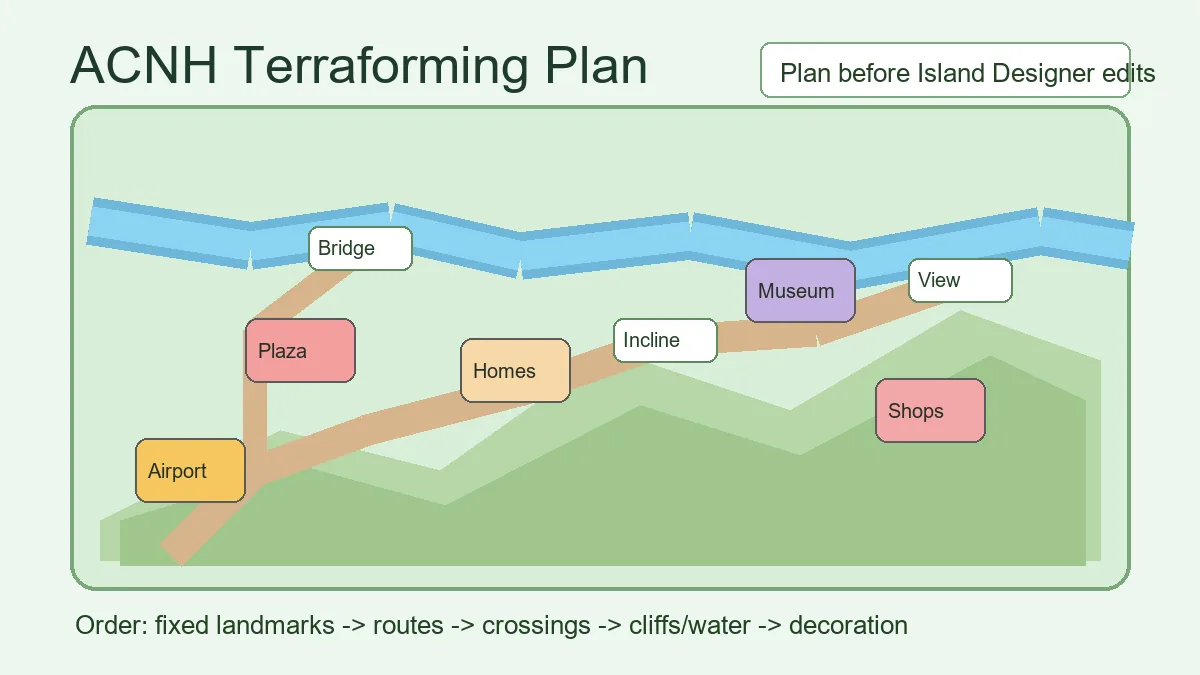
Timing, common problems, and a final check
The building stays in its old spot and remains usable until the 5 a.m. reset, when it moves to the confirmed plot. Check the destination after that transition.
If Tom Nook offers no move, check that Resident Services is upgraded and that you chose the right conversation for a house or another building. If a kit rejects the site, try farther from buildings, water, cliffs, or beach edges. Return an unfinalized kit if you change your mind.
Afterward, walk the entrance route and check that villagers can reach the door and the main path still connects services. See the planner's ACNH island layout ideas for broader zones; this guide covers the in-game move.
ACNH Building Move FAQ
Can you move Resident Services in Animal Crossing: New Horizons?
No. Resident Services, its plaza, and the airport are fixed. Only eligible structures in Tom Nook's relocation list can move.
How much does it cost to move a villager's house?
IGN reports 10,000 Bells for standard moves after Update 2.0. Check the fee in your game before confirming.
How much does it cost to move my own house?
Use Tom Nook's separate home option and read the current quote; older guides may show a stale fee.
Can I move a building twice?
Yes, but another request can mean another fee and wait. A small shift may require a temporary site first.
Why will the move kit not fit?
The footprint may be too close to a building, edge, water, cliff, rock, or beach boundary. Try a wider clear site and check the preview.
Plan the new spot
- ACNH Island Layout IdeasCompare island zones and walking routes before changing a building's position.
- ACNH Island Planner TemplateMark fixed landmarks, building footprints, and a move order on a planning sheet.
- ACNH Neighborhood LayoutPlan villager-home spacing, yards, and shared paths as one district.
- ACNH Terraforming GuideReview river and cliff constraints around a proposed destination.
Sources and fee context
Menu labels can vary with the console language. Use the dialogue and placement preview in your current save as the final check; cited guides provide context for the workflow and the historical price change.
- IGN: How to Move Buildings Relocation eligibility and the Tom Nook workflow.
- IGN: Surprise New Features in the 2.0 Update Reports the reduction to 10,000 Bells for standard buildings and villager homes.
- USgamer: How to Move Buildings A pre-2.0 guide retained as historical context; its older prices should not be treated as current.