How to Get a 3-Star Island in ACNH: Requirements & Fast Checklist
The fastest way to reach a 3-star island in ACNH is to build a balanced, lived-in island, then use Isabelle's feedback to fix one category at a time. This guide turns the 3-star island requirements into a practical order for residents, nature, outdoor furniture, fences, paths, and clutter.
Quick Answer: What Do You Need for a 3-Star Island?
The short answer is a growing island with enough animal residents, developed basic facilities, a healthy mix of trees and flowers, outdoor furniture and fences, and very little ground clutter. Ask Isabelle after each improvement batch. Her current wording is more useful than copying a single magic number from a checklist.
A 3-star rating is a progression milestone, not the same goal as a 5-star island. You are trying to make the island feel established and usable first. Once you reach three stars, you can move on to the more demanding 5-star island checklist without rebuilding your early work from scratch.
- Finish the island's basic resident and facility progression before decorating every empty tile.
- Place furniture outside in several zones instead of dropping one large pile in a single corner.
- Add trees and flowers in groups, but leave enough walking space around homes and shops.
- Pick up dropped materials, tools, clothing, and other clutter that Isabelle flags.
- Ask Isabelle again after each category change and follow the newest hint.
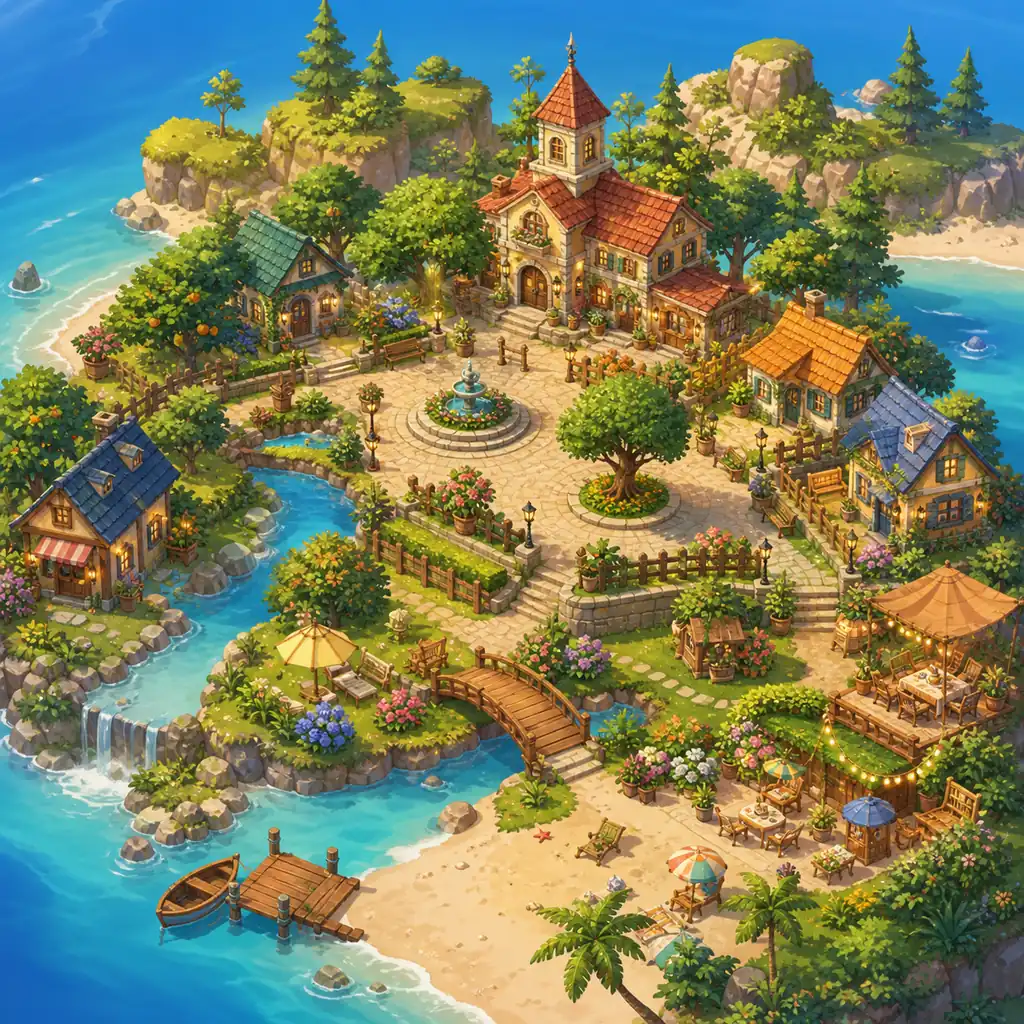
Build for the Next Isabelle Check, Not a Pretty Screenshot
When players search for ACNH 3 star island requirements, they usually want a reliable next step rather than a perfect island tour. Start by asking Isabelle for an evaluation, write down the exact category she mentions, and improve only that category for the next pass.
Use the free ACNH island planner to sketch a neighborhood, garden, shop area, or small plaza before moving buildings. If you want a permanent redesign after the rating milestone, the island planner template helps turn temporary score improvements into a build order.
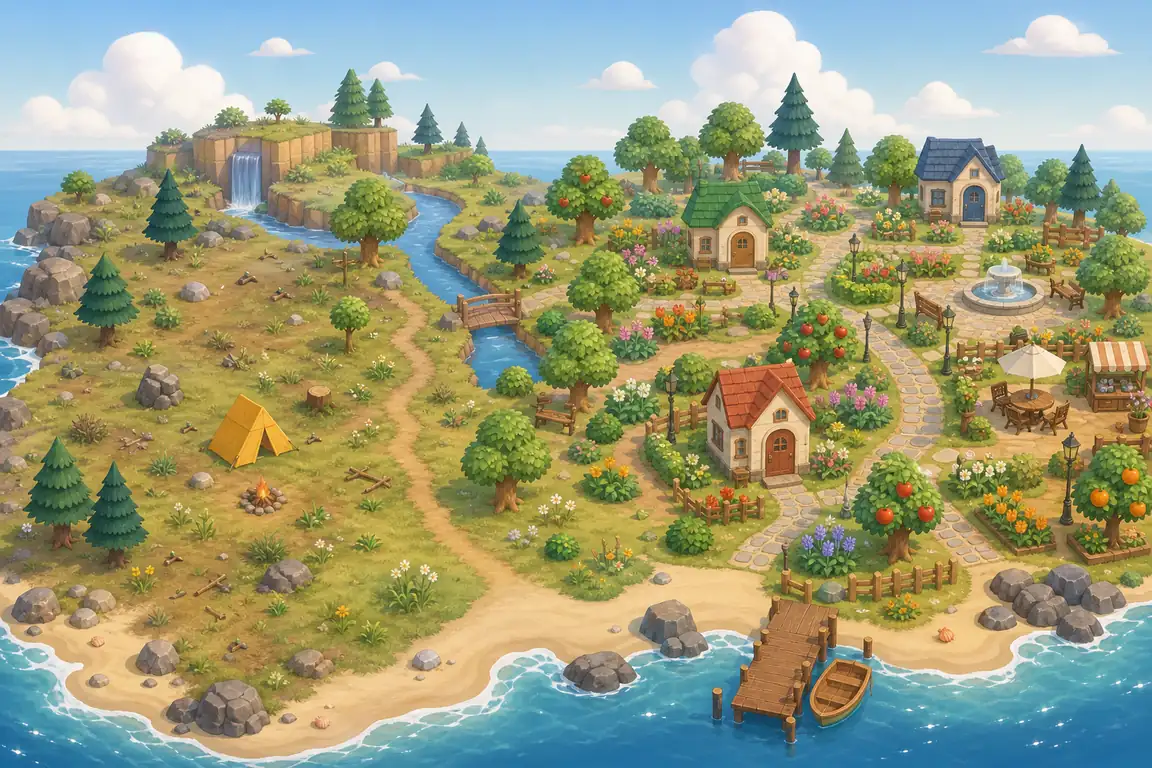
- Ask Isabelle and record the hint. Do not guess whether you need more nature or more furniture. The current feedback gives you the most useful direction for the next batch.
- Fill the resident or facility gap. If the island still feels unfinished, prioritize available homes, shops, bridges, inclines, and other basic development before fine decoration.
- Add nature without blocking routes. Plant trees and flowers in readable groups near paths, homes, cliffs, and beaches instead of creating an unwalkable forest.
- Spread outdoor development. Use furniture, fences, DIY items, lighting, and small themed scenes across multiple districts so the island feels intentionally lived in.
- Clear clutter and retest. Pick up loose objects, check beaches and work areas, then ask Isabelle again before making another large change.
The 3-Star Island Checklist, Broken Into Four Buckets
Treat the following groups as a balancing checklist. You do not need a museum-quality island in every category, but the island should show progress in all of them.
Residents and facilities
A three-star island needs to feel populated and developed, not like an early-game campsite with empty land.
- Best for
- Players who have been decorating but still receive feedback that the island feels incomplete.
- Where to plan it
- Reserve a town core for Resident Services, shops, bridges, inclines, and a few shared routes.
- Build note
- Do not move every home at once. Add one useful district, check the rating, and keep the daily route usable.
Trees and flowers
Nature adds scenery and makes empty areas feel intentional, especially around cliffs, rivers, beaches, and home yards.
- Best for
- Natural, cottagecore, forest, garden, and no-terraforming islands.
- Where to plan it
- Use the planner to mark tree groups, flower beds, orchards, and open walking lanes before planting.
- Build note
- More trees is not always better. Leave sight lines and paths open so nature supports the map instead of swallowing it.
Outdoor furniture and fences
Placed objects show that the island has been developed. A few themed areas are stronger than a random line of identical items.
- Best for
- Town centers, villager yards, markets, campsites, beaches, and small public parks.
- Where to plan it
- Start with one focal object, one walking route, and a small furniture group in each district.
- Build note
- Mix DIY items, bought furniture, benches, lights, and fences while keeping the route around them comfortable.
Clean routes and balance
Loose materials and blocked paths can make a decorated island feel unfinished even when it has plenty of objects.
- Best for
- Players who added many items quickly and are unsure why the rating stopped moving.
- Where to plan it
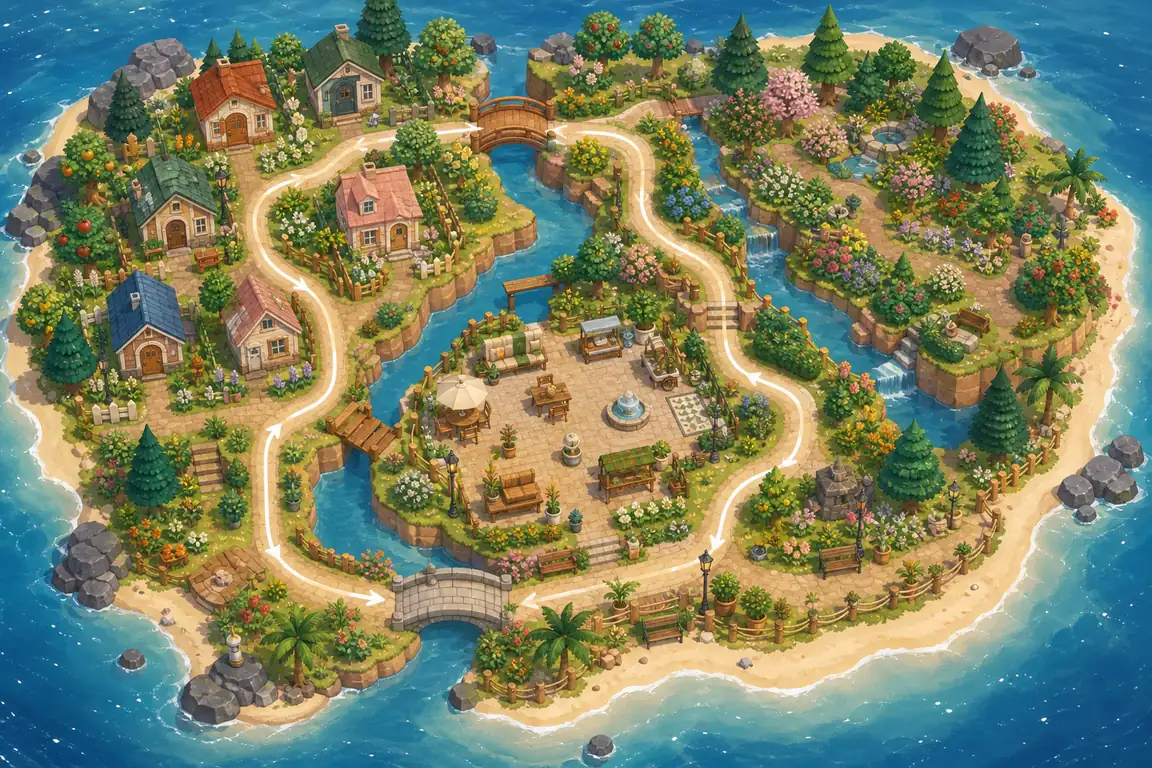
- Trace a loop between homes, shops, Resident Services, the beach, and your main nature zone.
- Build note
- Walk the island as if you were collecting fossils, visiting shops, and talking to villagers. Remove obstacles from that route first.
Use a Simple Rating Loop
The most efficient way to raise island rating is a repeatable loop: ask Isabelle, make one focused batch of changes, walk the island, and ask again. This avoids adding dozens of objects that do not solve the category she is actually describing.
The route should also be useful after you reach three stars. A clear path between the residential district, town core, nature area, and shore makes later terraforming and 5-star maintenance easier.
| Area | What to check | What good progress looks like |
|---|---|---|
| Isabelle feedback | Ask for an evaluation after each focused batch. | The hint changes, becomes more specific, or confirms that one category is improving. |
| Residents and facilities | Check available homes, core buildings, bridges, and inclines. | The island feels populated and daily errands do not require crossing empty wilderness. |
| Nature | Look for intentional tree groups, flower beds, orchards, and scenery zones. | Nature fills empty space while paths, doors, and shore access stay usable. |
| Outdoor development | Place furniture and fences in several districts. | Each area has a small purpose instead of one score pile hidden behind a cliff. |
| Clutter and routes | Pick up loose objects and walk the main loop. | Beaches, work areas, and daily paths are clear enough to use without detours. |
What to Do When the Rating Stalls
A stalled rating usually means the island is imbalanced, not that you need to decorate every square. Match the fix to the feedback you are still hearing.
She keeps asking for more scenery
Add a few more trees, flowers, fences, and nature-led scenes across different parts of the island.
- Use several small groups instead of one dense forest.
- Connect the groups with a path, bridge, or open garden edge.
- Recheck before adding another large batch.
She keeps asking for more furniture
Place useful outdoor objects where a player would actually use them: yards, markets, plazas, camps, gardens, and beaches.
- Spread objects across multiple map areas.
- Mix categories and sizes instead of repeating one item.
- Leave a clear walking lane around every scene.
The advice changes but the stars do not
Walk the whole island and look for clutter, blocked access, overgrown corners, or a missing basic facility.
- Check beaches and work areas first.
- Compare your current map with the island layout ideas guide.
- Make one small correction before changing the entire theme.
How This Page Differs From the 5-Star Guide
The 3-star milestone is about reaching a developed baseline and unlocking the next progression step. It is a narrower question than the endgame 5-star target, which needs more careful balance, scoring, and maintenance.
Use this guide to decide what to add next. Then move to the related resources when you need a permanent layout, a map plan, or the later 5-star checklist.
Use this page for the 3-star milestone
Follow the resident, nature, furniture, and cleanup loop before you spend time on a full island makeover.
Use the 5-star guide for the endgame target
After three stars, continue with the ACNH 5-star island guide for Development, Scenery, clutter blockers, and rating maintenance.
Use the planner before moving buildings
Sketch homes, paths, furniture zones, and crossings in the free island planner before committing to demolition.
Use layout resources for a permanent redesign
Compare the planning template, neighborhood layout guide, and map ideas once the rating work is stable.
A Practical 3-Star Island Checklist
Tick these in order, but let Isabelle's newest feedback decide which group deserves the next pass.
Before decorating
- Ask Isabelle for the current evaluation.
- Make sure your basic resident and facility progression is not stalled.
- Open the map and identify one town zone, one nature zone, and one residential route.
- Save a simple version before making a large demolition or terraforming change.
Nature and scenery
- Plant trees in readable groups rather than covering every open tile.
- Add flower beds near homes, paths, cliffs, or public areas.
- Keep doors, bridges, beaches, and main routes accessible.
- Use the flower breeding guide when a garden has a specific color goal.
Outdoor development
- Place furniture outside in more than one district.
- Add fences or borders around yards, gardens, markets, or small parks.
- Mix DIY items, purchased furniture, lighting, and seating.
- Keep a walking lane around every furniture cluster.
Final review
- Pick up dropped materials, tools, clothing, and turnips.
- Check beaches, cliffs, work areas, and corners hidden behind buildings.
- Walk the route between your home, shops, Resident Services, and the shore.
- Ask Isabelle again after the last focused batch.
Common 3-Star Island Mistakes
Avoid these shortcuts when you are trying to raise island rating quickly.
- You pile every item into one corner. A dense score pile does not make the rest of the island feel developed and can create a cluttered route.
- You plant until paths disappear. Nature should support scenery and empty-space coverage, not block houses, shops, bridges, or daily errands.
- You ignore dropped objects. Loose materials and tools are easy to forget, especially on beaches and behind construction areas.
- You change every category at once. If the stars do not move, you will not know whether the problem was residents, nature, furniture, or clutter.
- You treat three stars like five stars. Reach the progression milestone first, then use the deeper 5-star checklist when you are ready for maintenance and tighter balance.
Sources and Further Reading
The page uses a practical checklist rather than promising one guaranteed number. These references help verify the game context and detailed rating mechanics.
- Nintendo: Explore Your Island - Official game context for island development, residents, decorating, and activities.
- Nookipedia environment rating - Community-maintained reference for island rating categories and scoring details.
- ACNH FAQ island-rating research - Community-tested explanations of development, scenery, and Isabelle feedback.
- ACNH island planner template - Turn the first rating pass into a reusable zone and build-order plan.
3-Star Island FAQ
How many villagers do you need for a 3-star island in ACNH?
Many current community guides use eight animal villagers as a practical baseline, but residents alone do not guarantee three stars. If Isabelle still asks for more development, follow that feedback and improve nature, outdoor furniture, or clutter before assuming the resident count is the only issue.
What does a 3-star island unlock?
The three-star milestone is generally associated with the next major island-progression step, including K.K. Slider's first concert and access to later design features. Follow the in-game prompts after the evaluation because the exact sequence can depend on your current story progress.
Can weeds stop you from getting three stars?
A few weeds are not the same as an island covered in clutter, but large amounts of weeds and loose objects can keep the island looking unfinished. Clean the areas Isabelle or your own route checks identify first, then ask for another evaluation.
Does furniture have to be placed outside?
Outdoor development is the useful focus for this milestone. Place furniture, fences, lighting, seating, and small themed scenes around the island rather than relying on indoor rooms or one hidden pile.
How quickly can you reach a 3-star island?
The time varies with resident progression, available facilities, inventory, flowers, and how much of the island is already developed. Two or three focused evaluation cycles are usually more efficient than one huge decorating session.
Is a 3-star island the same as a 5-star island?
No. Three stars is an early progression milestone. Five stars asks for a stronger balance of development, scenery, clutter control, and maintenance, so use the separate 5-star guide after the first milestone.
Plan the Next Rating Pass Before You Move Anything
Sketch residents, paths, gardens, furniture zones, and crossings in the ACNH Island Planner, then make one focused change and check Isabelle again.
Open the ACNH Island Planner