ACNH Slumber Island Guide: Plan, Decorate, and Test Three Dream Islands
Slumber Island in Animal Crossing: New Horizons gives you a separate dream-building space for experimenting with island designs. Use this guide to understand what the mode is for, how to plan all three islands, what to decorate first, and how to avoid treating it like your main island layout by mistake.
Quick Answer: What Should You Use Slumber Island For?
Use ACNH Slumber Island as a low-risk design lab. It is best for testing themes, building a shared island with friends or family, and trying large ideas before you change your main island. Do not start by decorating tiny scenes. Start with each island's purpose, main route, plaza idea, and the first three zones you want visitors to understand.
The strongest setup is to give each of the three available islands a different job: one polished showcase island, one experimental terraforming island, and one relaxed multiplayer island. That keeps your ideas from blending together and makes every Slumber Island easier to finish.
- Assign a theme to each Slumber Island before placing buildings or paths.
- Sketch the airport-style arrival route, central gathering space, and two side zones first.
- Use your main island planner screenshot as a reference, not as a rule you must copy.
- Invite friends only after the island has a clear shared goal and build zones.
What Is Slumber Island in ACNH?
Slumber Island is part of the Animal Crossing: New Horizons 3.0 update context. Nintendo describes the update as adding dream-island style spaces where players can create with friends and family and use three islands as a vacation-paradise canvas. For planning, that means the mode is not just another finished map to admire. It is a separate place to test structure, decoration rhythm, and multiplayer ideas.
Think of it as a second design track beside your main island. Your main island still needs daily routes, shops, villagers, storage habits, events, and long-term play comfort. A Slumber Island can be more focused: a resort vignette, forest retreat, city block, museum garden, seasonal photo island, or shared build project.
| Question | Planning answer | Best action |
|---|---|---|
| Is it a replacement for my main island? | No. Treat it as a separate creative canvas. | Keep main-island routes practical and test risky ideas on Slumber Island first. |
| How do you access it? | Nintendo Support says to lie down on bed furniture, choose It's slumber time, then let Luna create or open a Slumber Island. | Plan the island before that moment so size, layout, and first build goal are not rushed. |
| Should all three islands use one theme? | Usually no. One theme across three islands can feel repetitive. | Use three distinct jobs: showcase, experiment, and shared build. |
| Can friends shape the design? | Yes, the mode is useful for collaborative planning. | Agree on zones, rules, and a build order before everyone starts decorating. |
| Does it need heavy terraforming? | Only if the island concept needs it. | Plan route and zones first, then decide whether cliffs and rivers are worth the effort. |
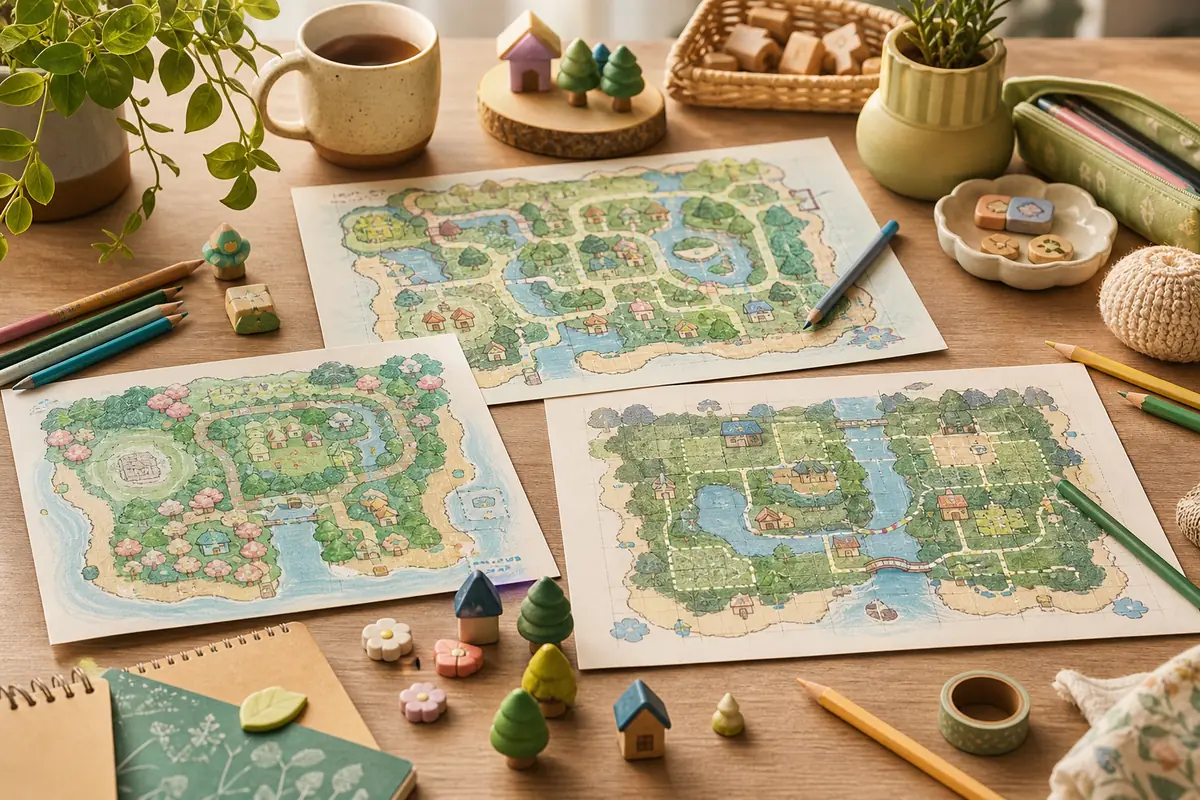
How to Plan a Slumber Island Before Decorating
The best Slumber Island ACNH builds start like any good island plan: fixed purpose first, decoration last. Use this flow before you spend time on furniture, paths, or water features.
Choose the island's job
Decide whether the island is for screenshots, multiplayer visits, theme testing, seasonal events, or a full concept build. One island should not try to do every job.
Block the first three zones
Sketch an arrival zone, a central gathering area, and one signature destination. A resort might use dock, plaza, pool; a forest island might use trail, campsite, waterfall.
Plan movement before scenery
Draw the main walking route and any loop path before placing dense decoration. Visitors should know where to go without hitting dead ends.
Set a build limit
Pick one large feature and two smaller scenes for the first version. This keeps the project finishable and leaves space for later changes.
Three Slumber Island Design Routes That Work Well
Because there are three island slots, the smartest approach is not to make three versions of the same town. Give each island a different design question. One can answer how a polished dream address should feel, one can test terraforming, and one can stay flexible for friends.
If you already use the ACNH island layout ideas guide, borrow only the structure you need. Slumber Island can be more playful than a main island, but it still benefits from a clear entrance, main route, and readable zones.
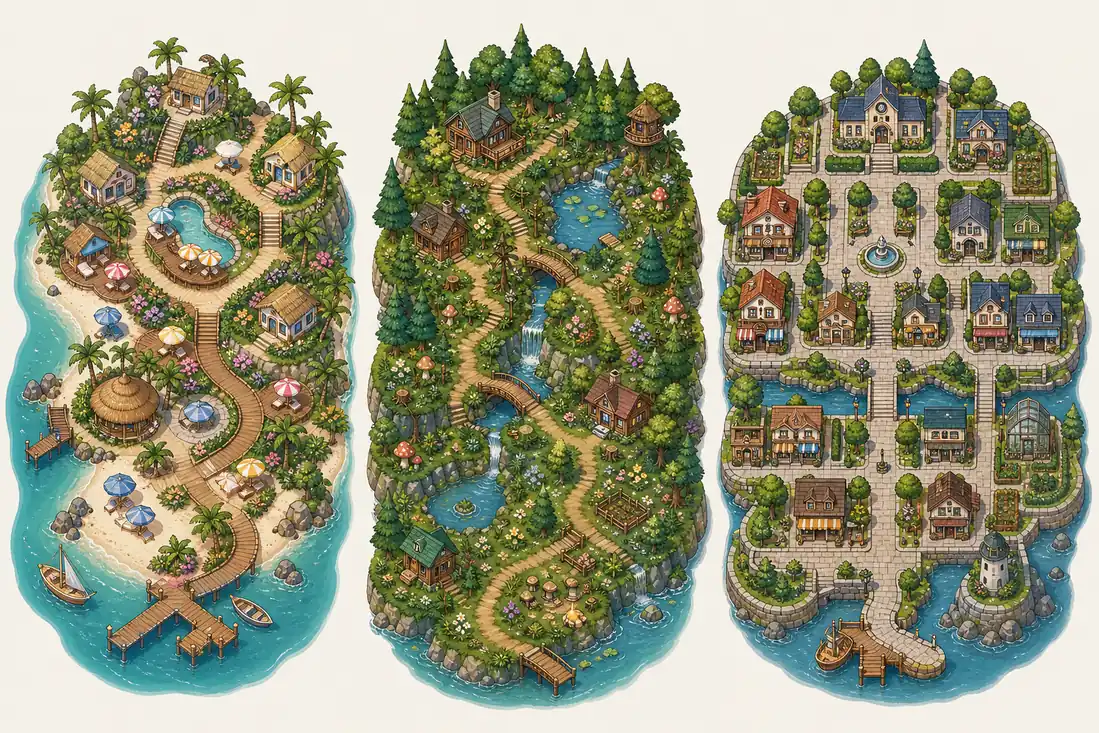
| Design route | Best for | Planner setup |
|---|---|---|
| Vacation resort island | Visitors, screenshots, beach cafes, pools, boardwalks, and bright seasonal scenes. | Start with a coastal loop, then add one central lounge or market area. |
| Forest retreat island | Natural paths, waterfalls, campsite scenes, mushroom areas, and quiet photo spots. | Sketch one winding trail and place scenic stops along it instead of using a strict grid. |
| Town experiment island | Street layouts, shop districts, museum courts, plaza ideas, and neighborhood spacing. | Use blocks and paths first, then test building footprints before decorating. |
| Shared build island | Friends or family who want to contribute different areas without breaking one another's work. | Divide the island into clear zones and assign each zone a purpose before decorating. |
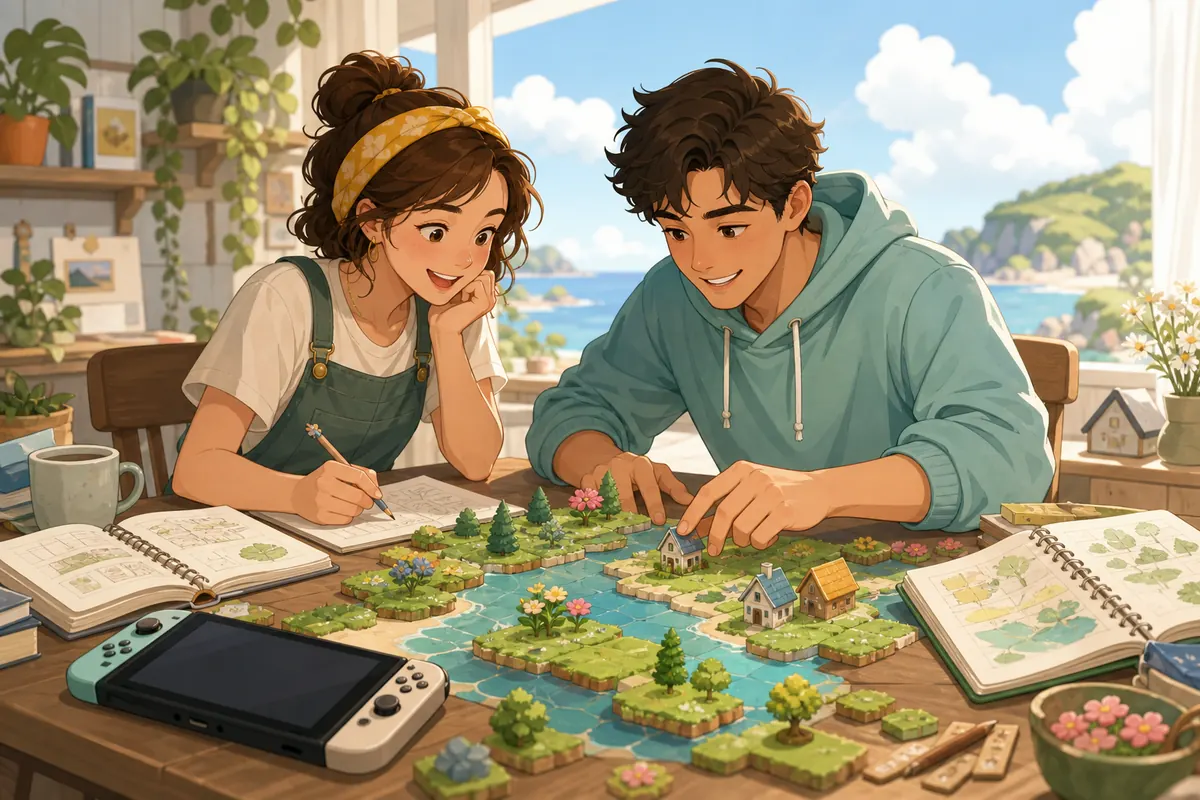
How to Decorate Slumber Island With Friends
The question keyword how to decorate Slumber Island ACNH usually hides a planning problem: multiplayer decoration gets messy when everyone starts with furniture instead of structure. Before inviting friends, decide the island's theme, zone owners, path style, and what should stay empty for future changes.
A simple collaboration rule works well: one person owns the route, one owns the main gathering scene, and everyone else owns a side area. That creates variety without turning the island into disconnected mini builds.
If a friend wants to test a bold idea, give it a separate zone or a separate island slot. Do not let one experiment rewrite the whole island unless everyone agrees.
Slumber Island Planning Checklist
Run through this checklist before you call the island ready. It keeps the design readable, useful, and easy to revise.
Structure
- Each Slumber Island has one clear purpose.
- The first route is understandable without signs or explanations.
- There is one central gathering space or visual anchor.
- Large decorations do not block the main loop.
- At least one zone is left flexible for later updates.
Collaboration and Safety
- Friends know which zones they can change.
- A screenshot or planner reference exists before major edits.
- The design still works if one player stops contributing.
- Risky terraforming tests stay separate from polished showcase areas.
- The FAQ questions about saving, closing, and inviting friends are answered before a group session.
Useful References While Planning Slumber Island
Use official update context for what the feature is, then use planning guides for the layout decisions that make each island readable.
- Nintendo: Animal Crossing New Horizons Update 3.0 - Official update page describing the 3.0 feature context, including dream-island style creation with friends and family.
- Nintendo Support: How to Create or Access a Slumber Island - Official support steps for lying on a bed, choosing It's slumber time, creating or accessing Slumber Islands, selecting size/layout, and saving before entry.
- Nookipedia: Slumber Island - Community mechanics reference noting up to three personal Slumber Islands, size/layout choices, multiplayer sessions, shared decorating, and terraforming.
- ACNH Island Designer Guide - Internal guide for map planning, fixed features, terraforming decisions, and island design workflow.
- ACNH Terraforming Guide - Internal guide for rivers, cliffs, waterfalls, and build order when a Slumber Island concept needs terrain work.
- ACNH Island Planner Template - Copyable checklist for turning a rough Slumber Island concept into zones, routes, buildings, and build phases.
ACNH Slumber Island FAQ
How do you play Slumber Island in ACNH?
Start by treating Slumber Island as a separate creative island instead of a replacement for your main island. Choose a theme, plan the main route, decide the first zones, and then decorate in phases. The exact in-game access flow can change with update details, so check the official Nintendo update page if you need feature availability notes.
How should I decorate Slumber Island ACNH?
Decorate from structure to detail: arrival route, central hub, signature destination, then small scenes. This avoids a scattered island where every corner looks finished but the whole map has no clear movement.
Can I invite friends to a Slumber Island?
The 3.0 update context emphasizes creating with friends and family, so plan collaboration before inviting people. Give each person a zone, agree on path style, and keep one flexible area for experiments.
What happens if I close the game or do not save on Slumber Island?
Treat every major build session like a design draft: take a screenshot or planner note before changing large areas, and use the game's normal save habits before closing. If you are unsure about exact save behavior, test with a small change before a long group build.
Should I make a Slumber Island or redesign my main island first?
Use Slumber Island first when the idea is risky, seasonal, or collaborative. Redesign the main island first only when the change improves daily play, shops, villagers, and routes you use every session.
Plan Your Slumber Island Before You Build
Use the planner to sketch routes, zones, and theme choices before you start decorating a Slumber Island or redesigning your main island.
Open the ACNH Island Planner